I've been dying to do this for a long time. This time I kept track of what I spent and what I did.
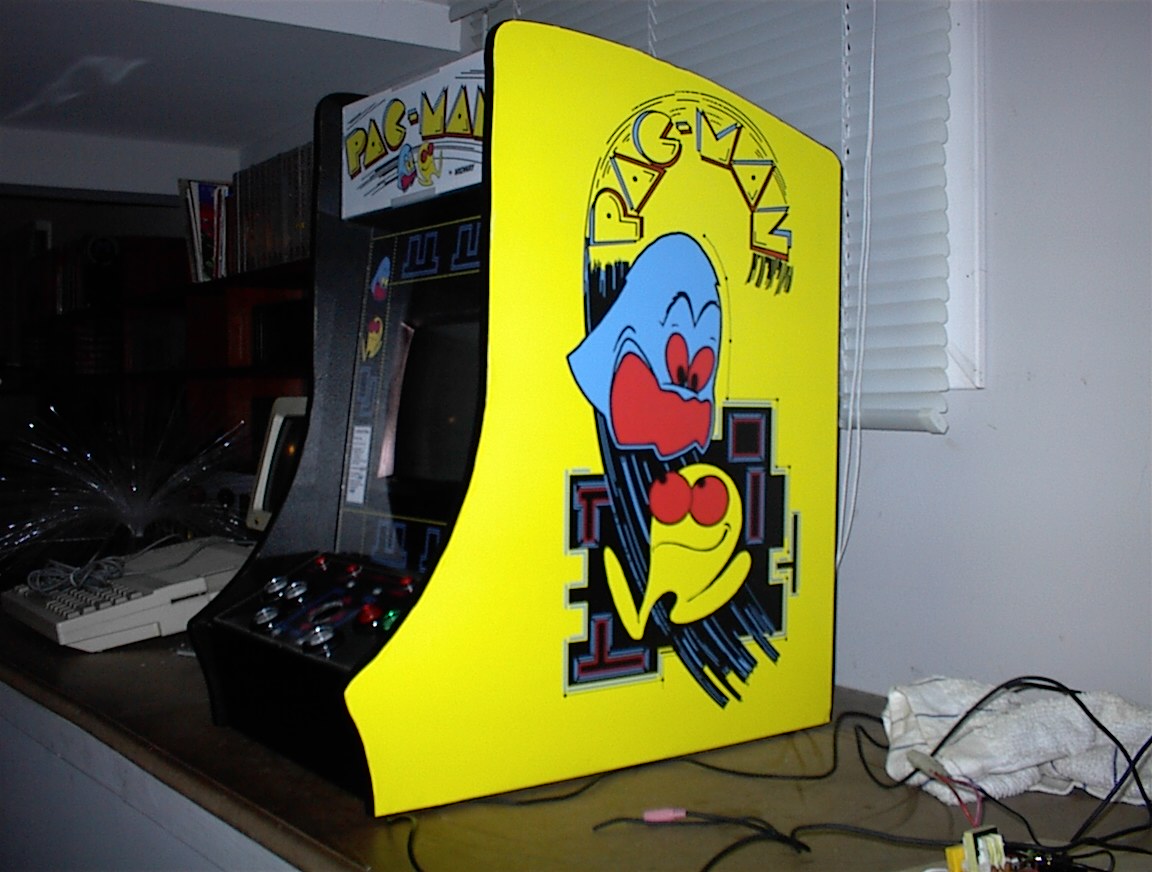
This is an expensive cab to make, with the cost of the parts hovering somewhere around $700. Here is the 'list of materials':
NOTE: prices do not include shipping
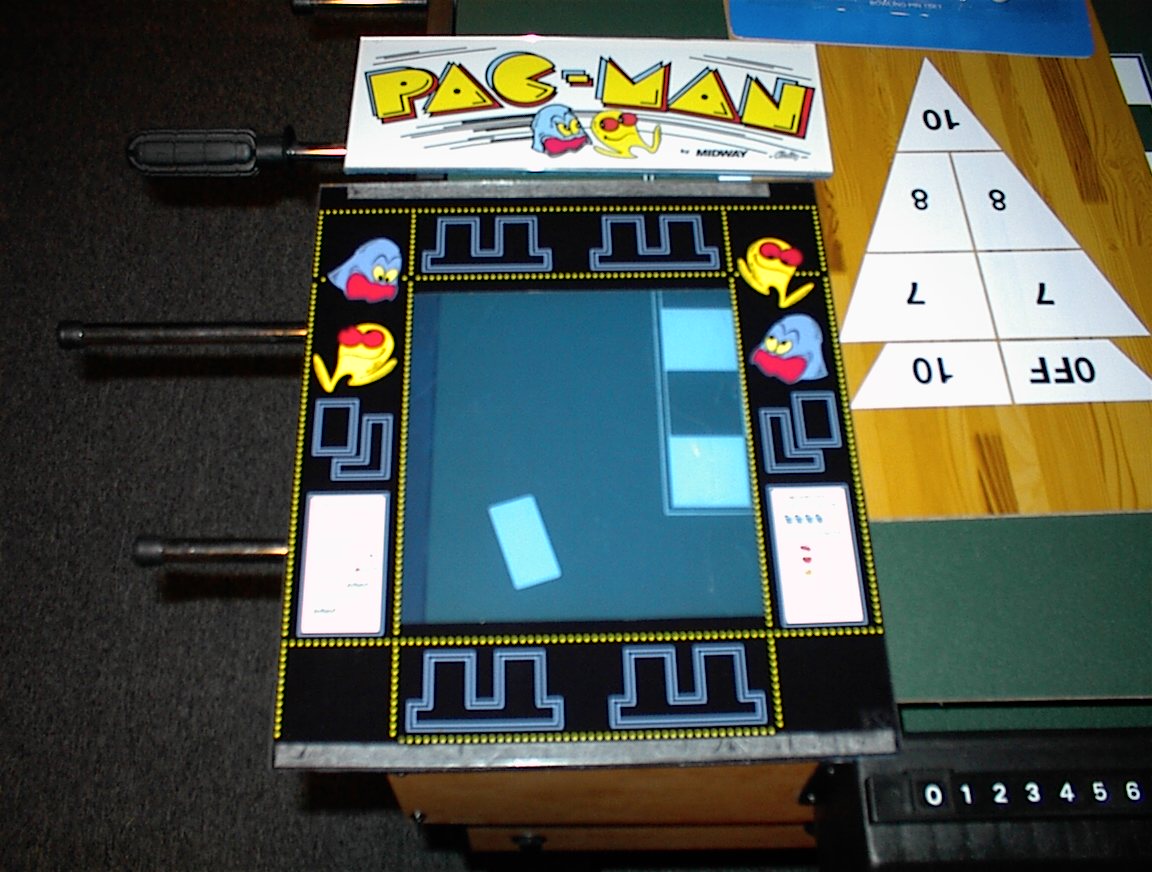
1 - Marquee retainer (Happ Controls) - 15.00
1 - Qt Semi-Gloss Black paint (Home Depot) - 5.00
2 - Side Art print on Adhesive Vinyl - 95.00
1 - Paint rollers (Home Depot) - 5.00
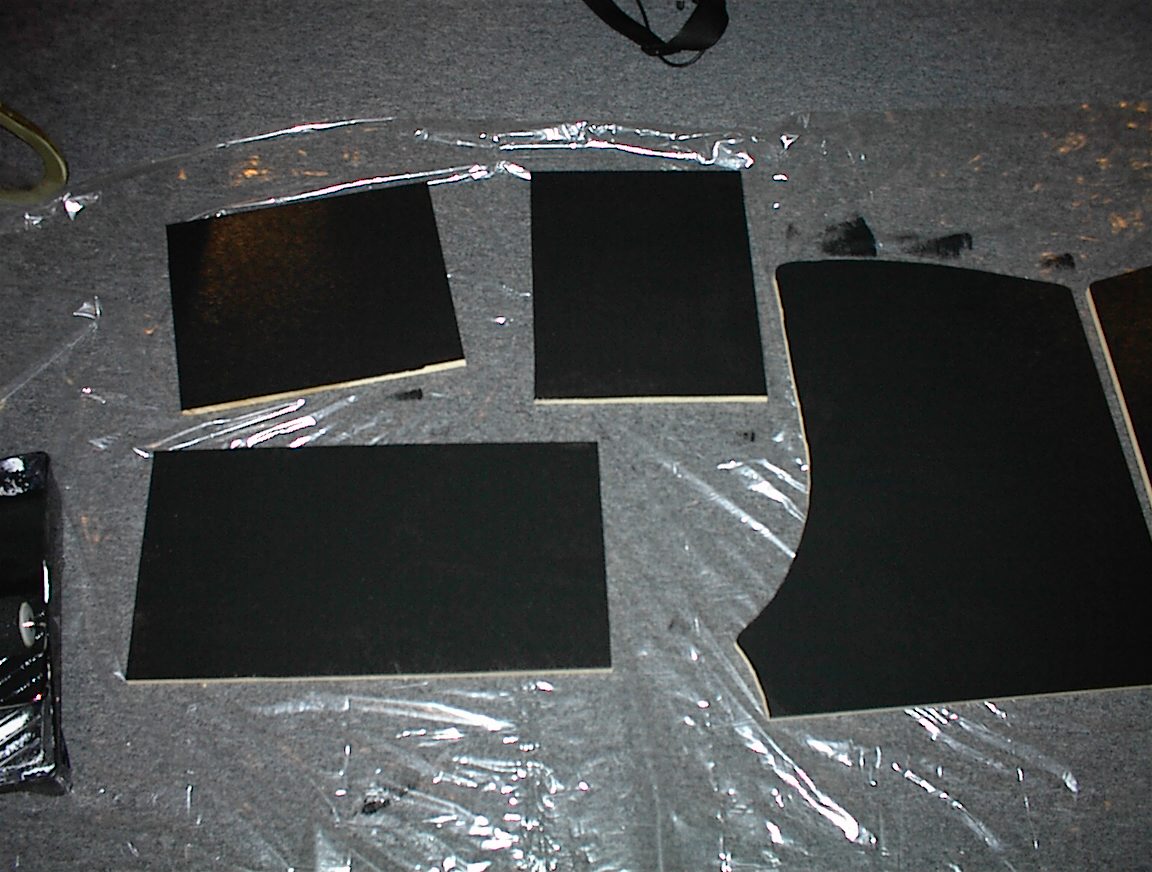
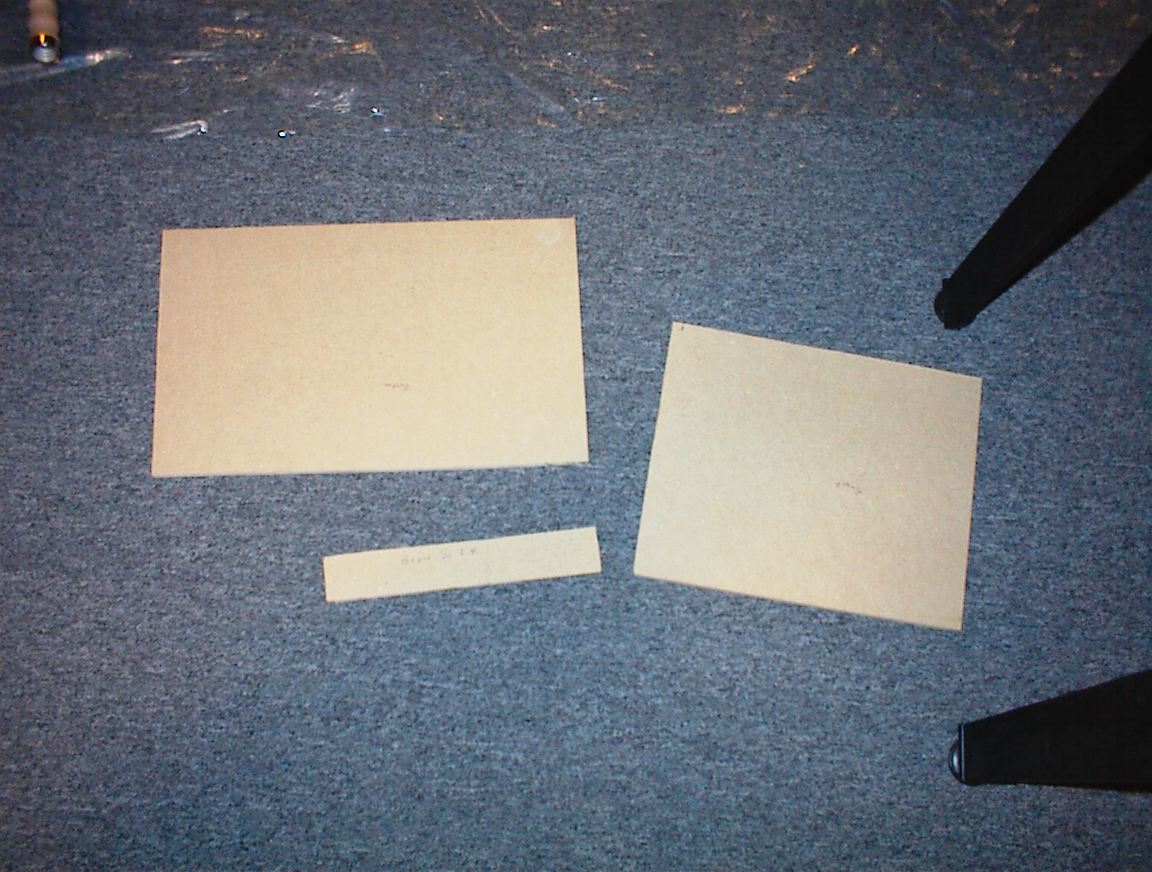
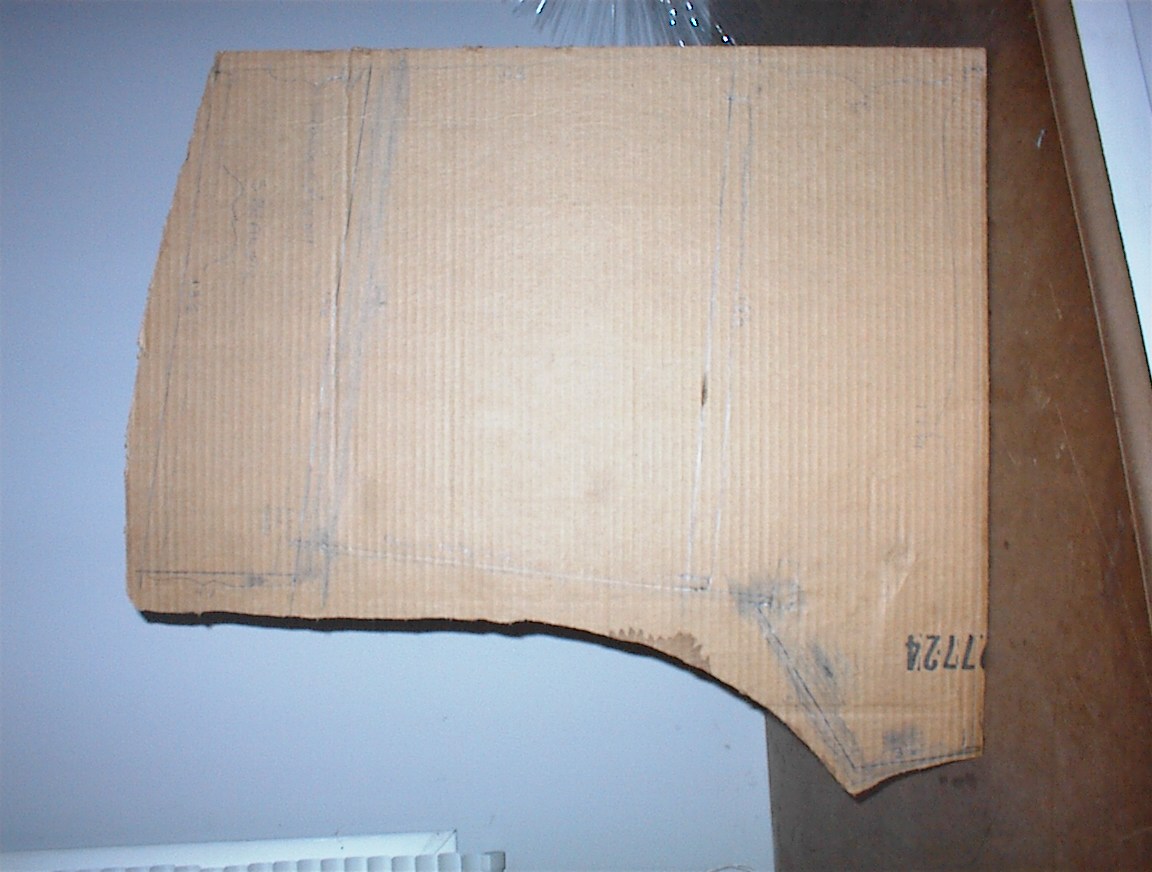
2 - MDF CTS board (24x48) (Home Depot) - 10.00
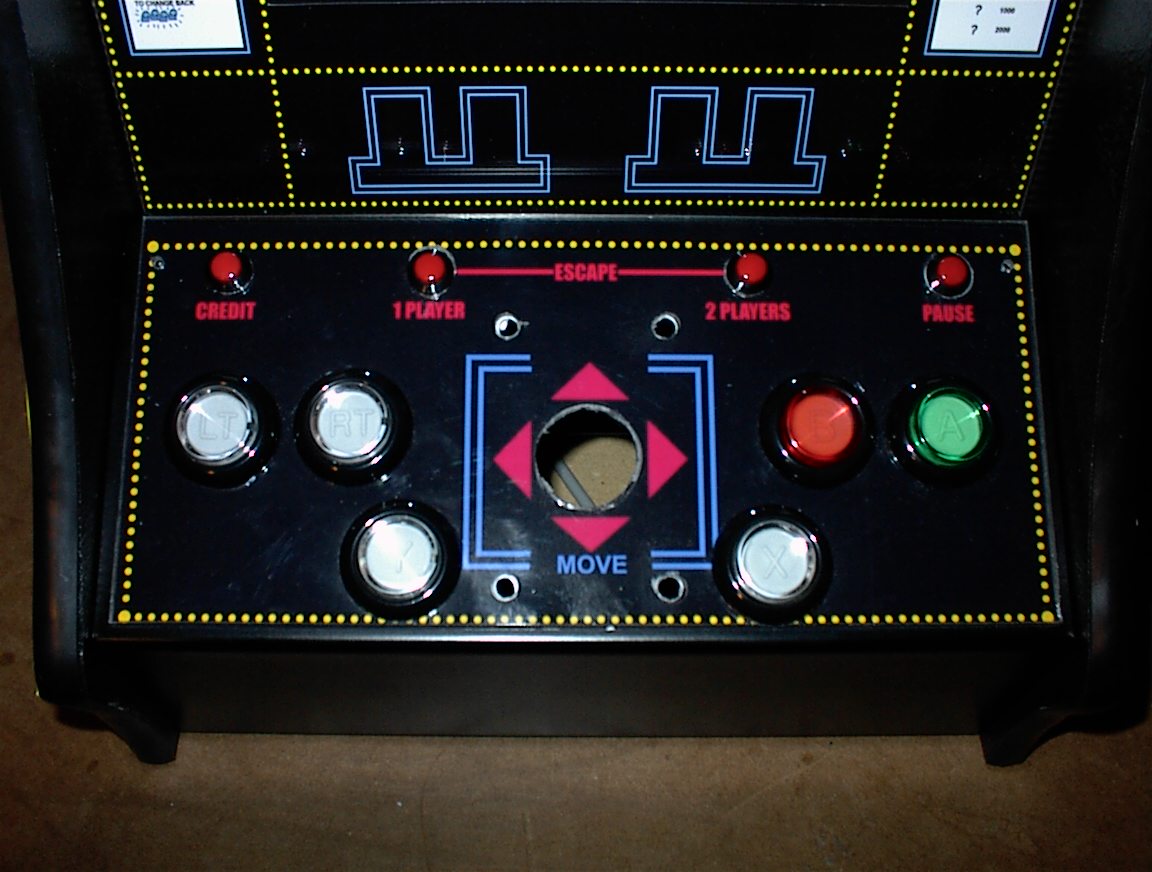
1 - Control Panel (Arcade Depot) !!! :) - 40.00
1 - 9" Monitor (Computer Show?) - 50.00
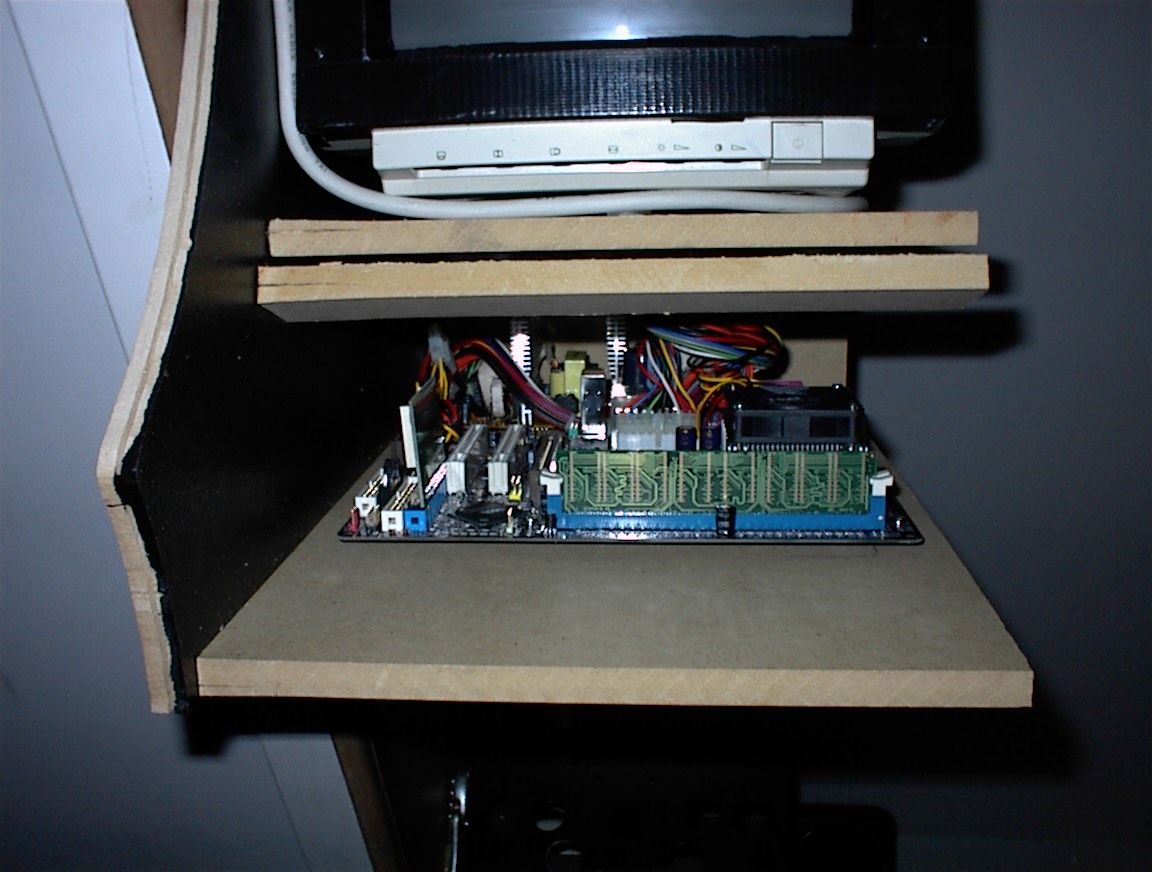
1 - 1.4 Ghz, 256Mb, M/B (Computer Show?) - 150.00
1 - I-Pac (Ultimarc) - 40.00
1 - Joystick (T-Stick+) (Ultimarc) - 25.00
12 - Arcade Buttons (Happ Controls) - 21.00
4 - Select Buttons (Happ controls) - 5.00
1 - PC Power Supply - 20.00
1 - Set of PC Speakers - 10.00
1 - Legacy Compatable Sound card (If using DOS) - 10.00
1 - Compact Flash to IDE Adapter (If using DOS) (Adi's Electronics) - 25.00
1 - Compact Flash card 64Mb (If using DOS) - 30.00
2 - 1/8" Plexi (Bezel & Marquee) (Home Depot) - 5.00
2 - 1/8" Lexan (Control Panel) (Home Depot) - 5.00
4 - Rubber Feet (Home Depot) - 1.00
1 - 20ft of black 1/2" T-Molding (T-Molding.com) - 10.00
Whew!
NOTE: If I make another one of these, I will be using a 15" LCD Panel, as the 9" monitors are getting hard to find, and
they are heavy.
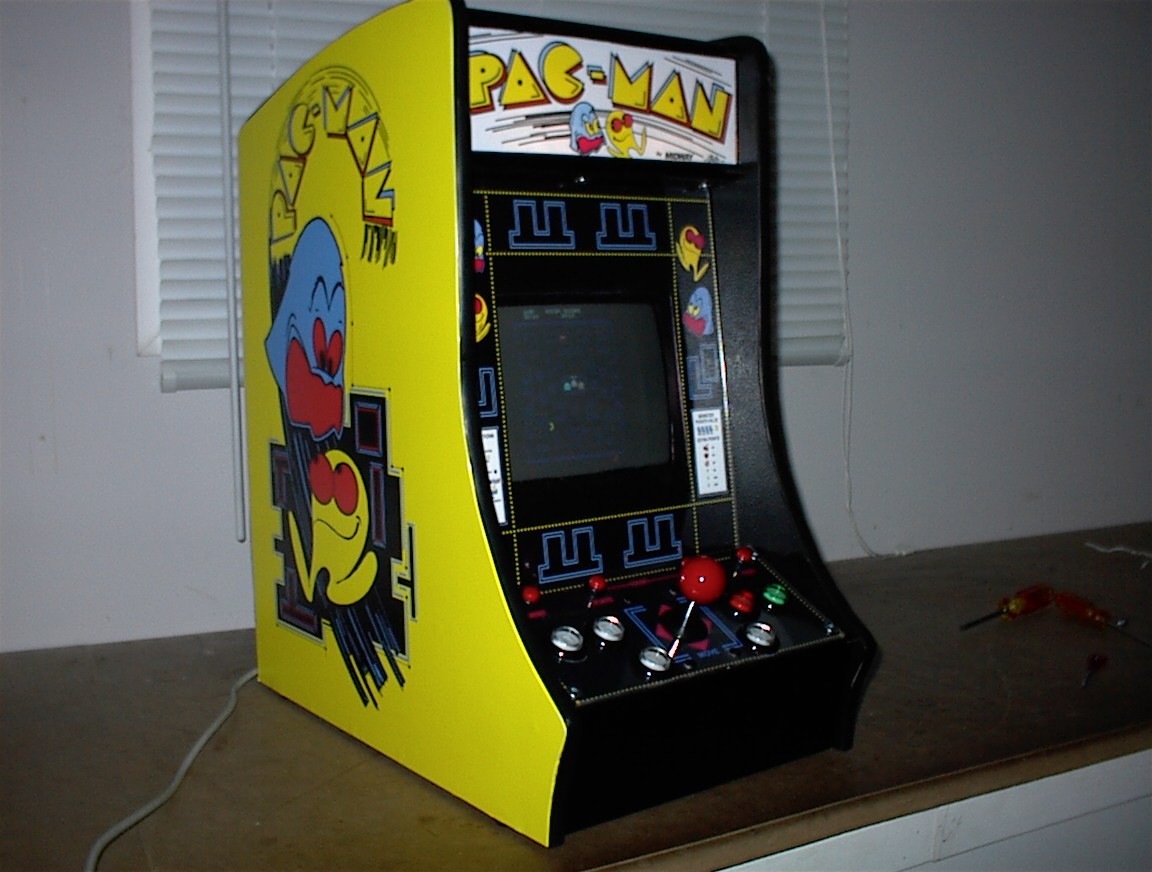
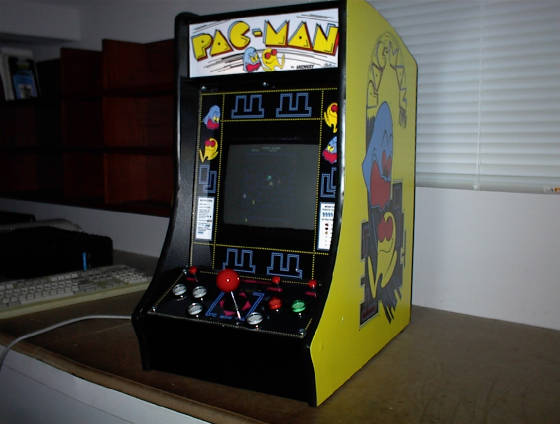
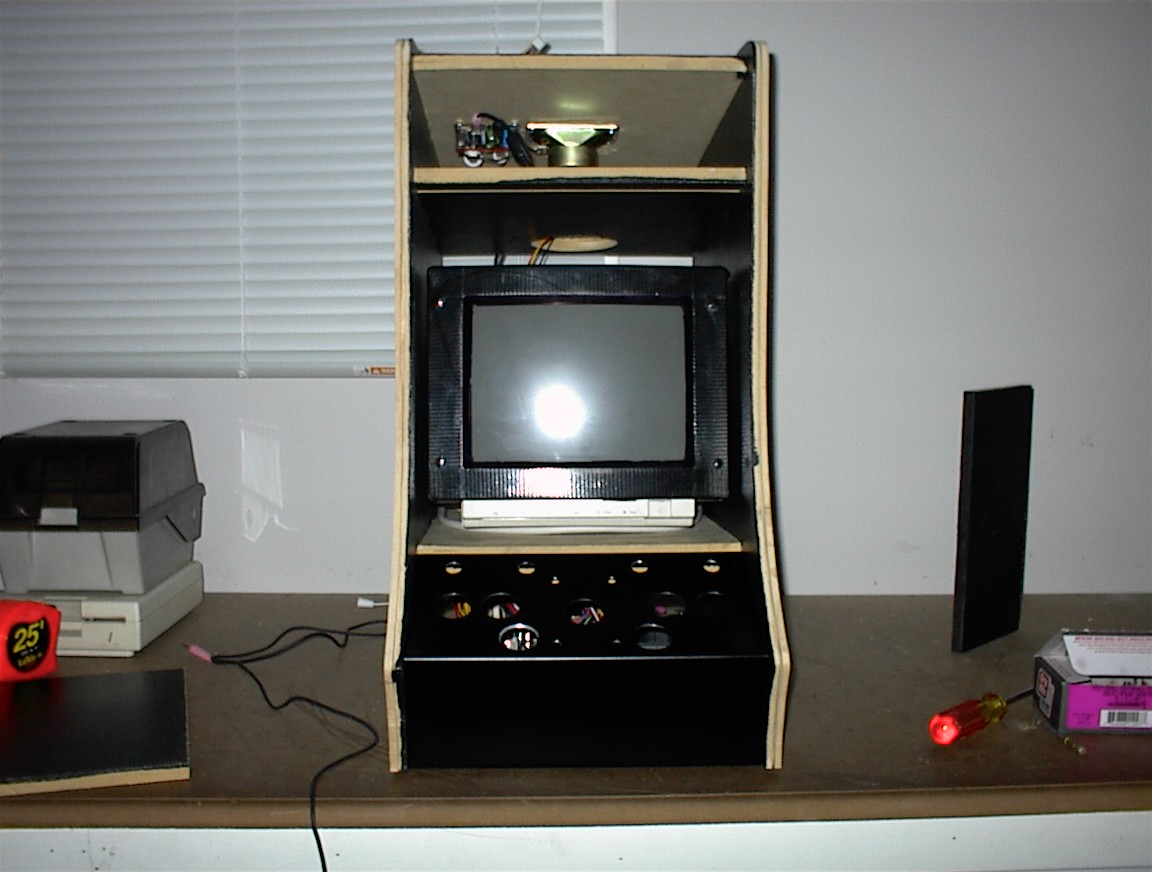
Cabinet Width: 11"
Marquee: 4"x11"
Control Panel: 3.5"H x 5"D x 11"W
Bezel: 13"x11"
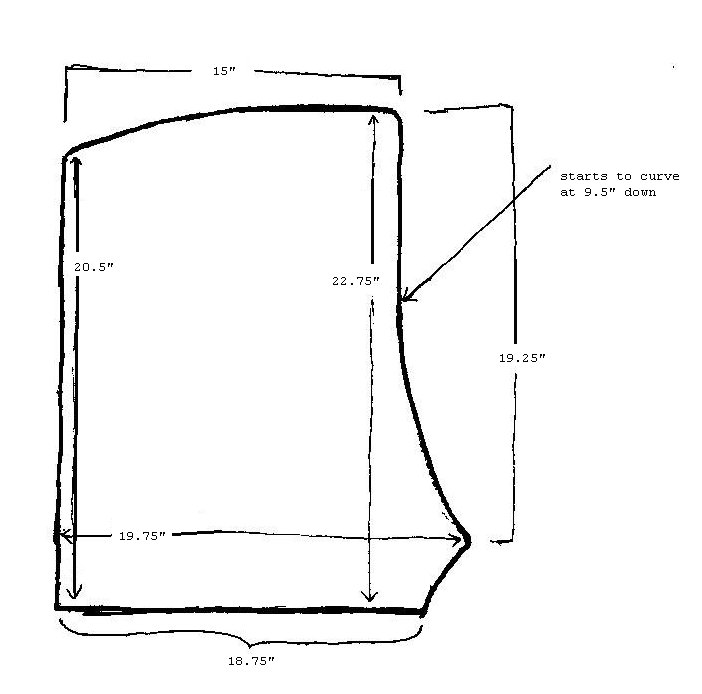
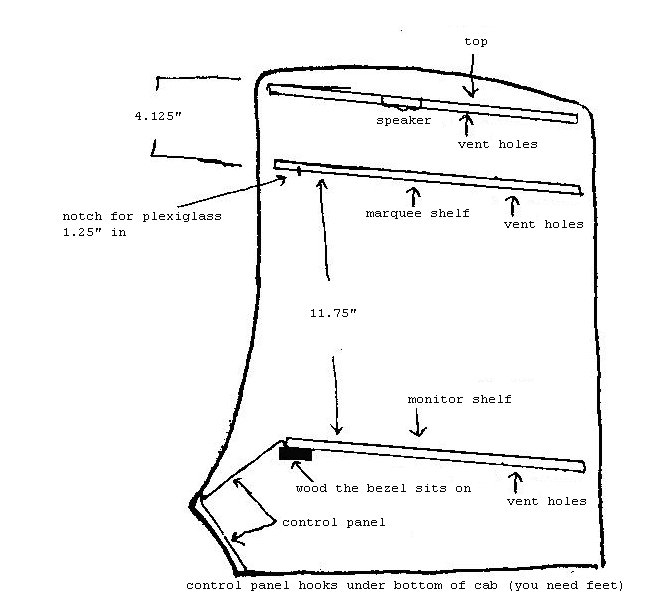
Outside Measurements:
(you can right-click and 'save as' to see the measurements clearer)