|
|
 |
|
This cabinet was made starting with a kit from Arcade Depot. I cannot say enough good things about these people, especially Scott, who I had the pleasure of dealing with.
Not only do they put out a superb product, their support is second to none and they completely stand behind their products.
The kit was a Christmas present from my sister :-D (I know, it's not Christmas yet) so I decided to open it
early and try to have it *done* by Christmas.
Below you will see the pictures of the construction process. Their directions were *very* easy to follow, and it
went quicker than I expected.
After I completed this, I realized there are a few things I would have done differently (you know the saying... hindsight
is 20/20). 1) I would have put the power connector on the opposite side, just because if you have the coin door
facing outward, the power cord should be as 'hidden' as possible. 2) I would have raised the speakers. I
have already kicked one of them (not enough to dent it, but it's just a matter of time) :(
The pics are described underneath:
|
|
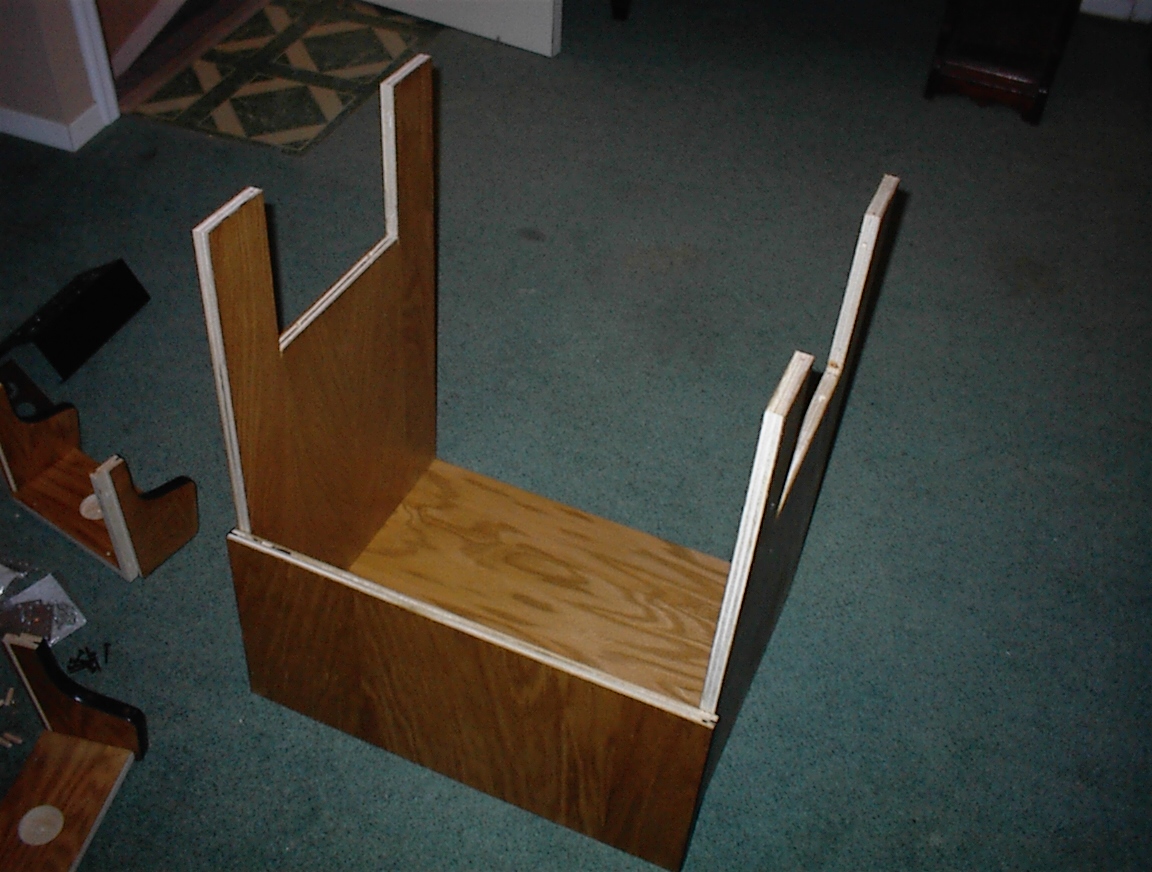
| This was the very beginning... |
|
|
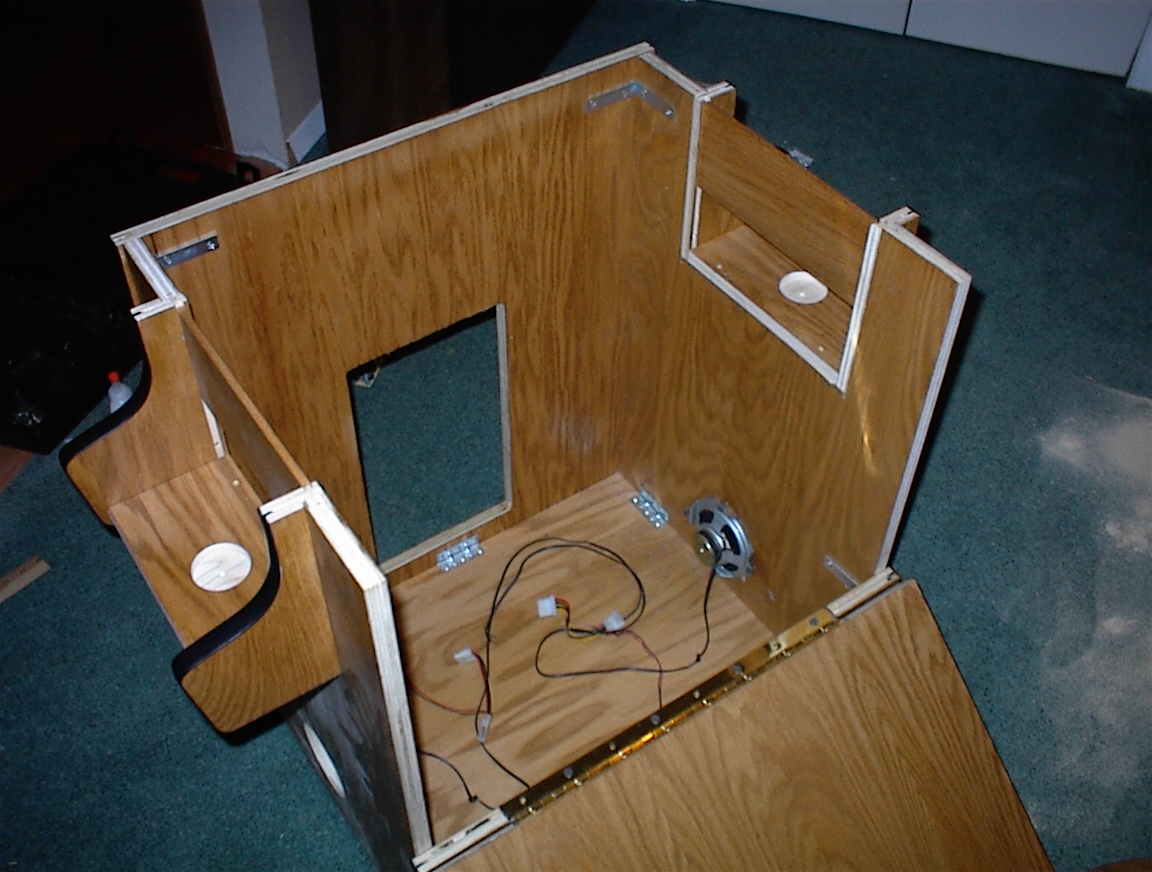
| I cut the holes for the speakers and fans before putting the sides on - it was just easier that way. |
|
|
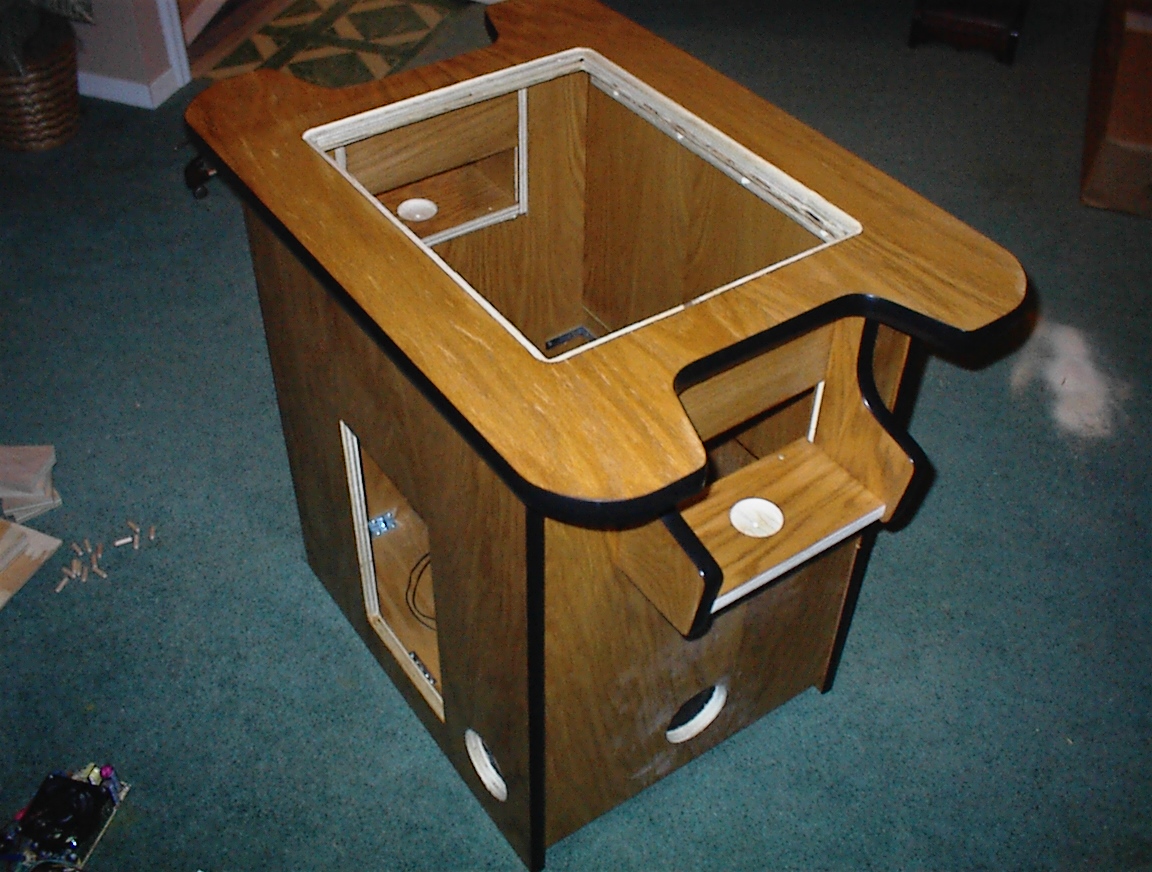
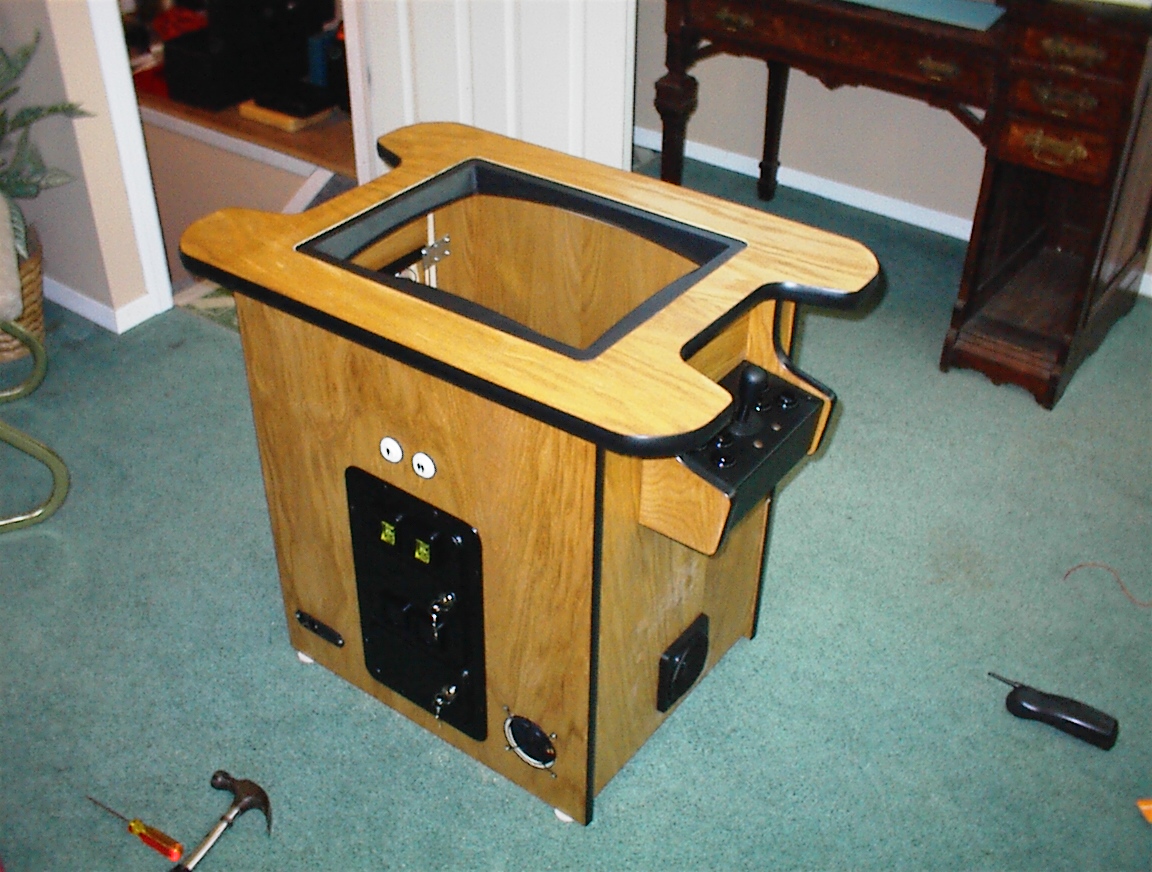
| Here is the completed frame (minus the control panels) |
|
|
|
A couple of things to note here, I decided to go with a cabinet which looked as close to furniture as possible (because
this unit was going to be on my main floor, as opposed to my rec room - right next to my kitchen which is all oak).
Being that I wanted it that way, I put no decals / overlays / underlays on the unit. I originally was going with veneer
molding to match the oak, but I figured if the coin door and control panel were going to be black, I might as well make
that my contrast color.
The buttons, coin door, and monitor bezel were all bought from Happ Controls. The I-PAC Keyboard encoder and 4-way 'T-Stick' joysticks (I went with special ones where the mounting plate was thinner
so I could fit another button on the Control Panel) were bought from Ultimarc.
The 4" Speakers I just had laying around, but if I didn't I would have went to Radio Shack to get some. As a matter of fact, I went there to get the speaker grills on the outside.
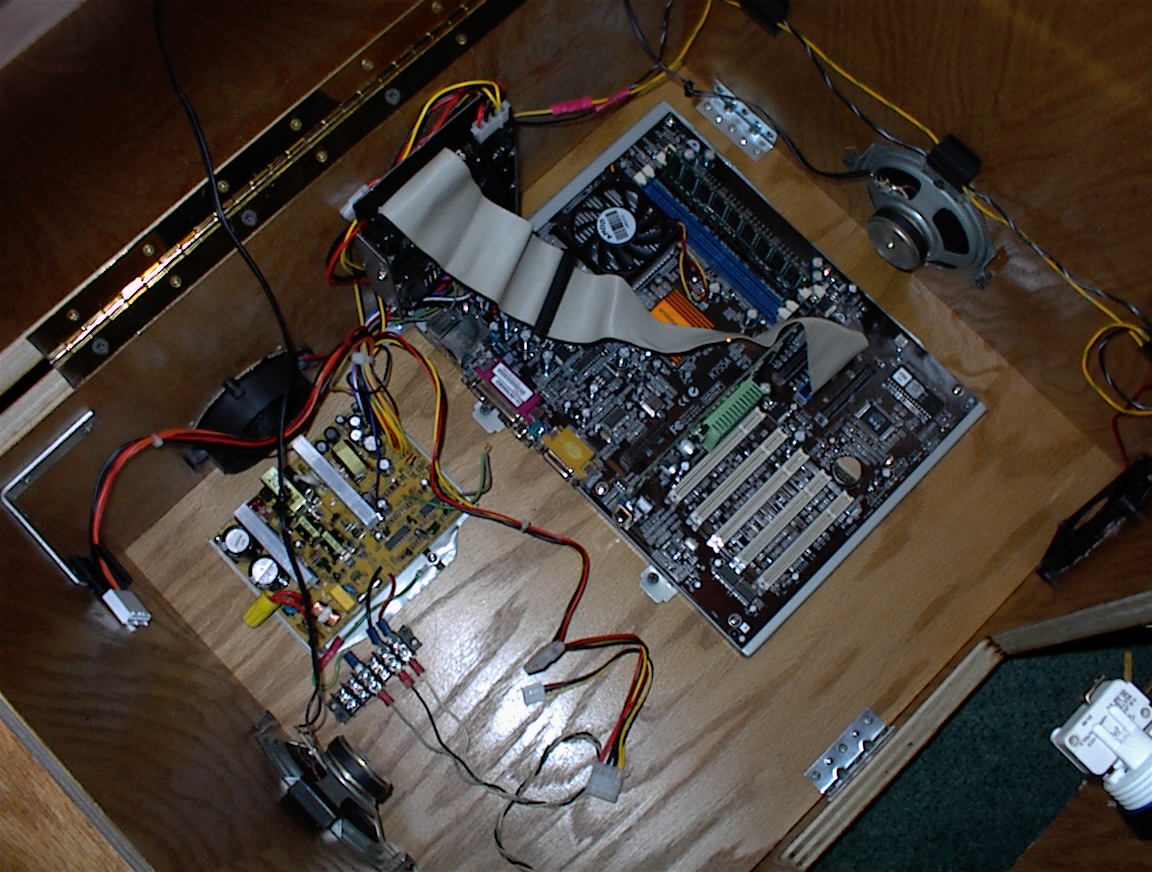
The hardware going inside it is as follows:
AMD Athlon 1700+ XP, with 256Mb of RAM
40Gb hard drive (I know - overkill)
nVidia GeForce4 440 Video Card w/64 Mb
Happs Pushbuttons (P/N 58-91XX-L XX=Color)
Happs Mini Coin Door (P/N 40-0513-00)
I used a PC monitor instead of an arcade monitor for financial reasons - I couldn't justify spending over $300 for an
arcade monitor when I could get a 19" PC monitor at a computer show for less than $100. That is exactly what happened
- I found a Compaq 19" monitor at the show for $69.99 :)
|
|
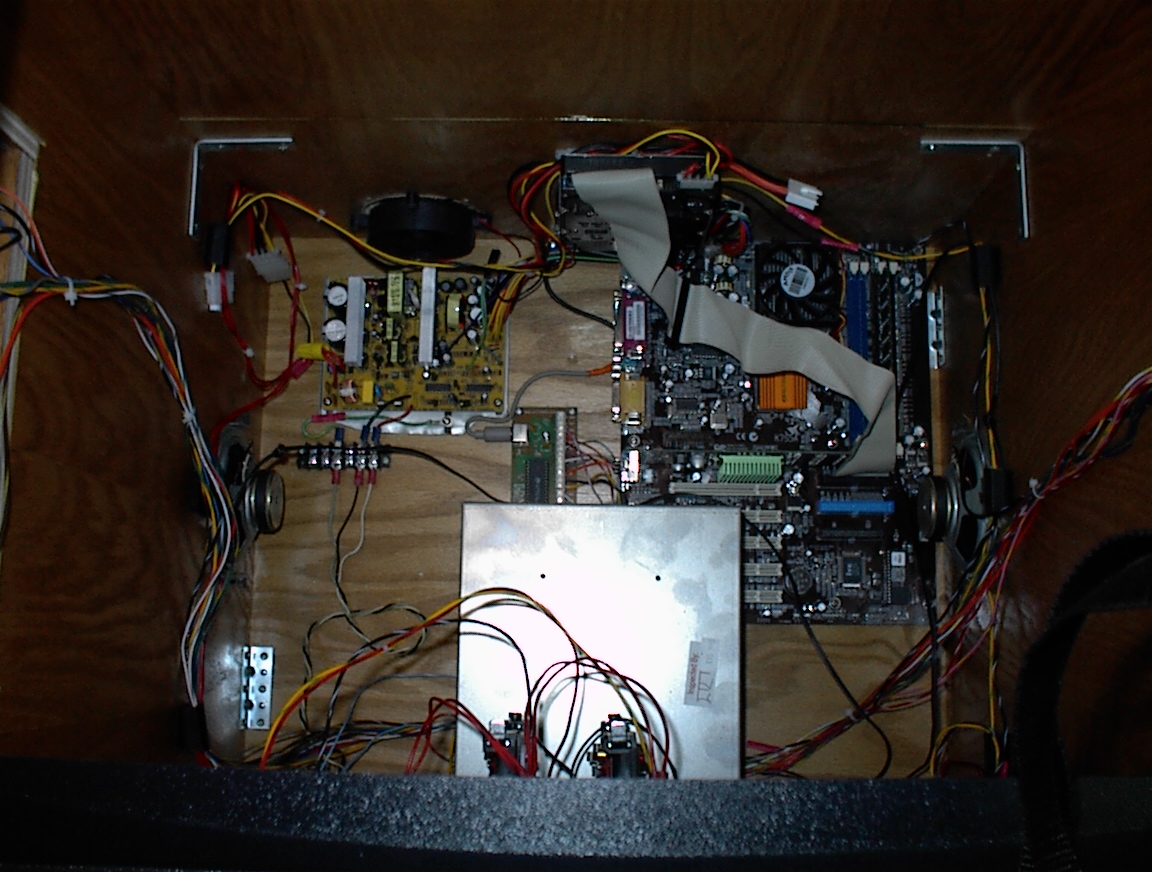
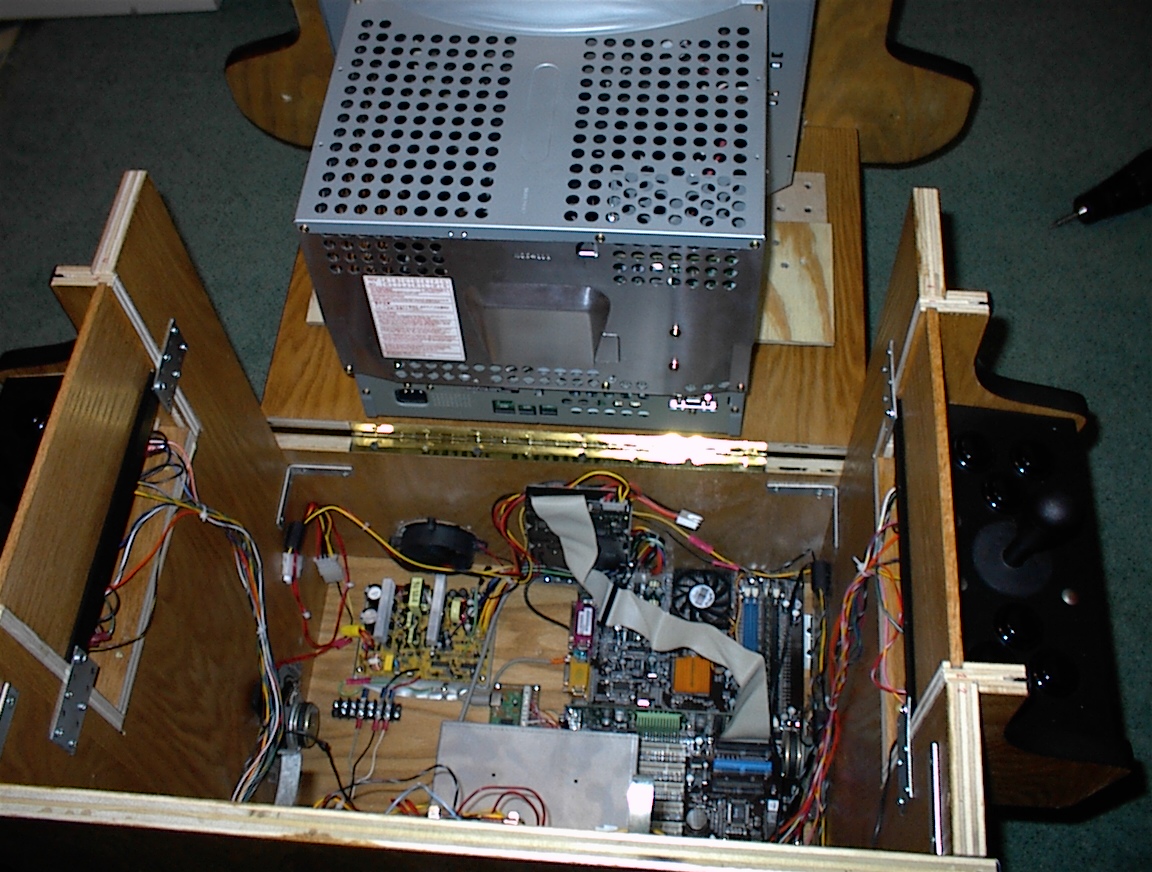
| Here is the motherboard, hard drive, & power supply mounted |
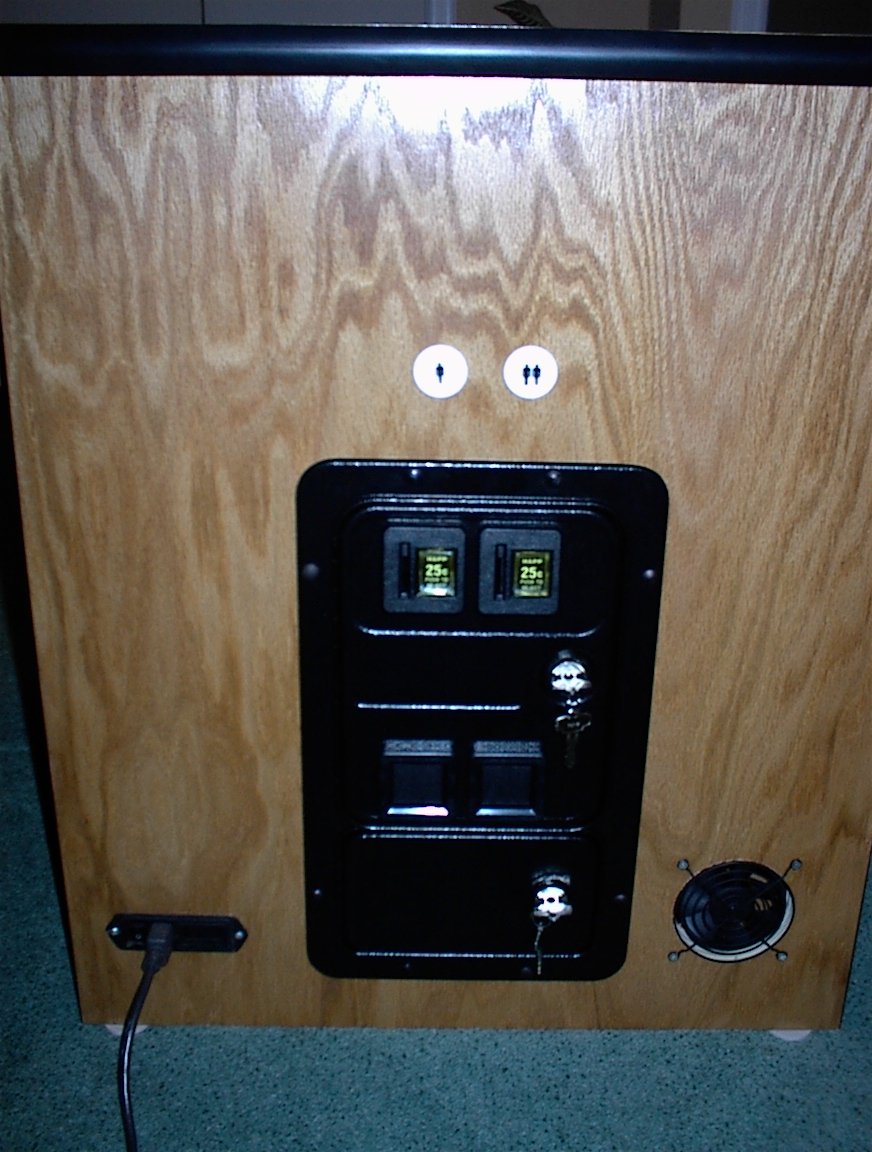
Here we have the coin door, power switch (and connector), fan, and start buttons. I took the power
switch/connector combo from an old non-working game. Again, I wish I had put that on the other side... The coin
door hole was pre-cut by the great guys at Arcade Depot! :)
|
|
| Top view with the coin door mounted - it *just* cleared the motherboard by 1/2"! |
|
|
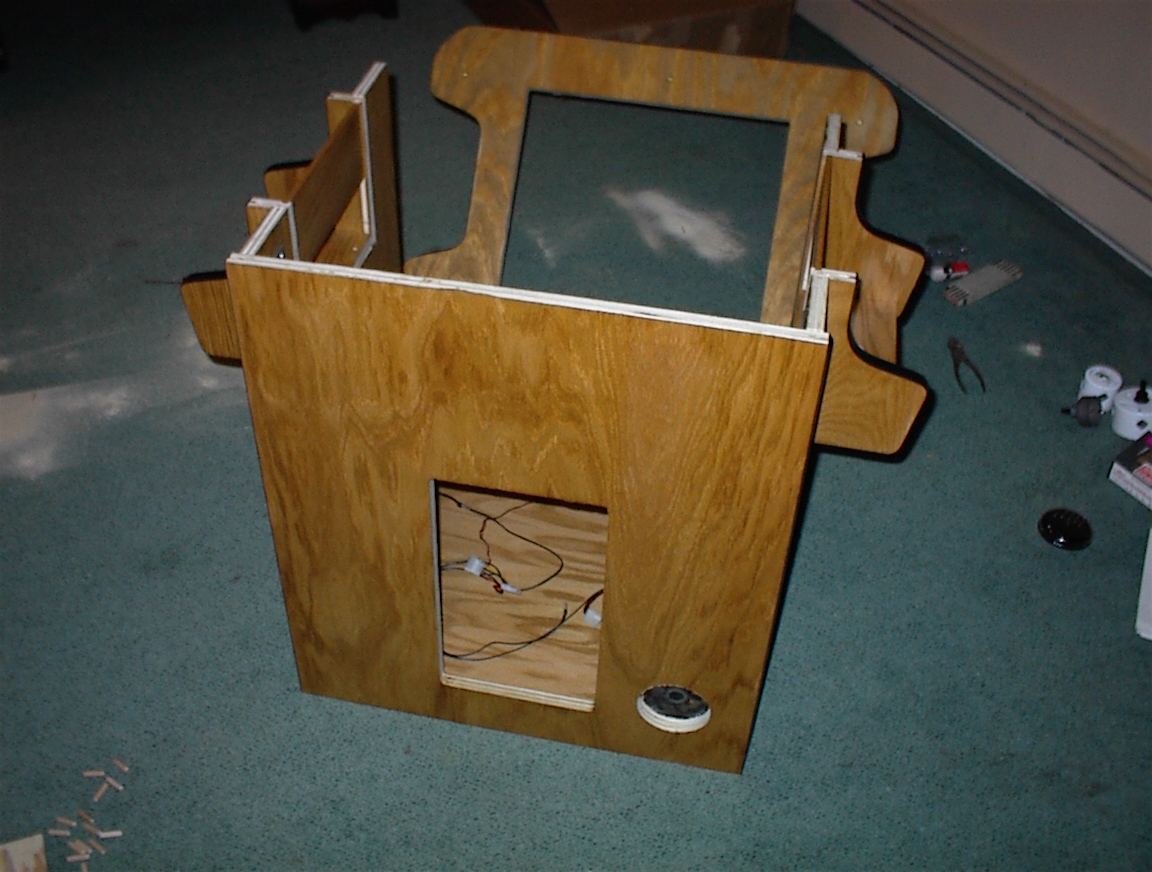
| View with the bezel cut and placed. Notice the use of all black buttons on the control panel... |
The monitor was by far the hardest part of this. I had no way of mounting it, so I was able to remove
the bottom part of the 'cage' that surrounded it, and screw it onto the 3/4 wood you see in the picture. I used many
screws (of course) to prevent the monitor from coming apart while inside the cab. I'm still not comfortable with this,
so I will use metal straps around it as well.
|
|
|
|
|
|
|
|
|
|
|
|
|
|
| Another view of the monitor mount... |
|
|
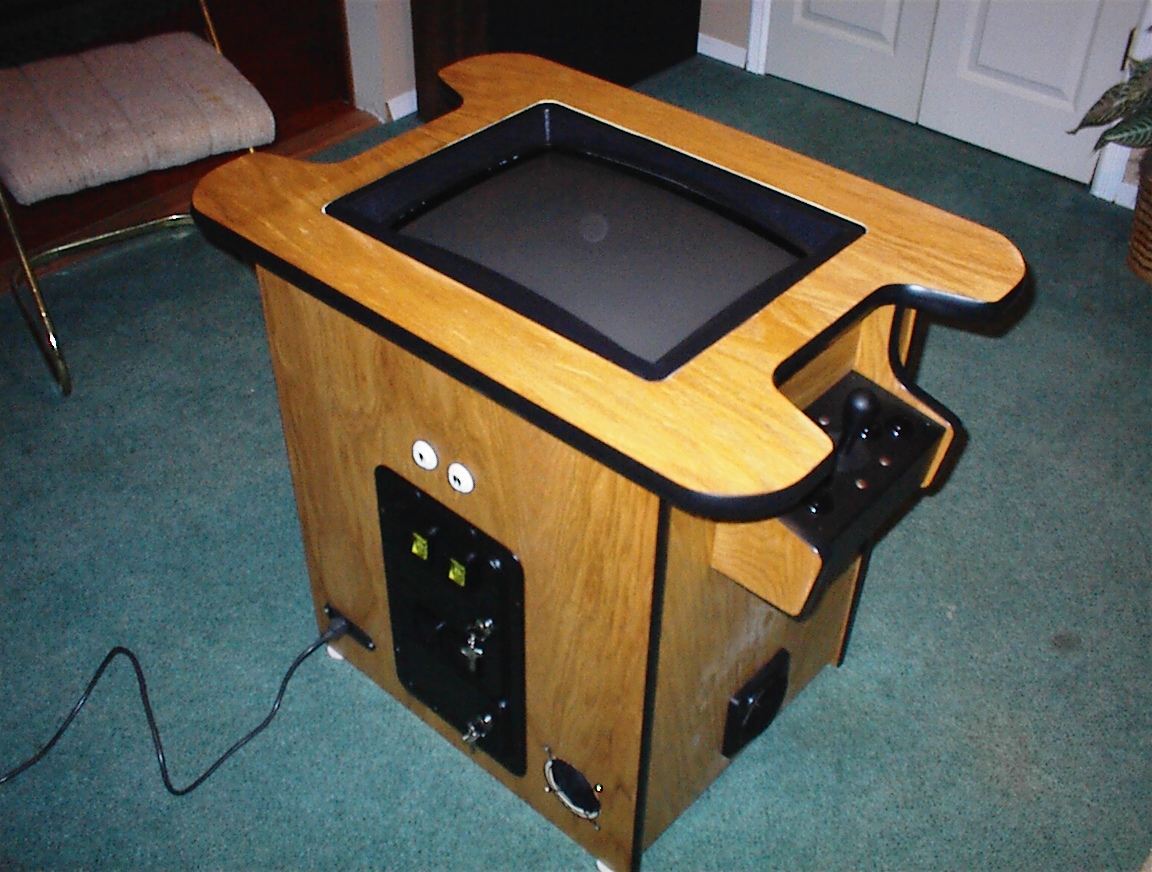
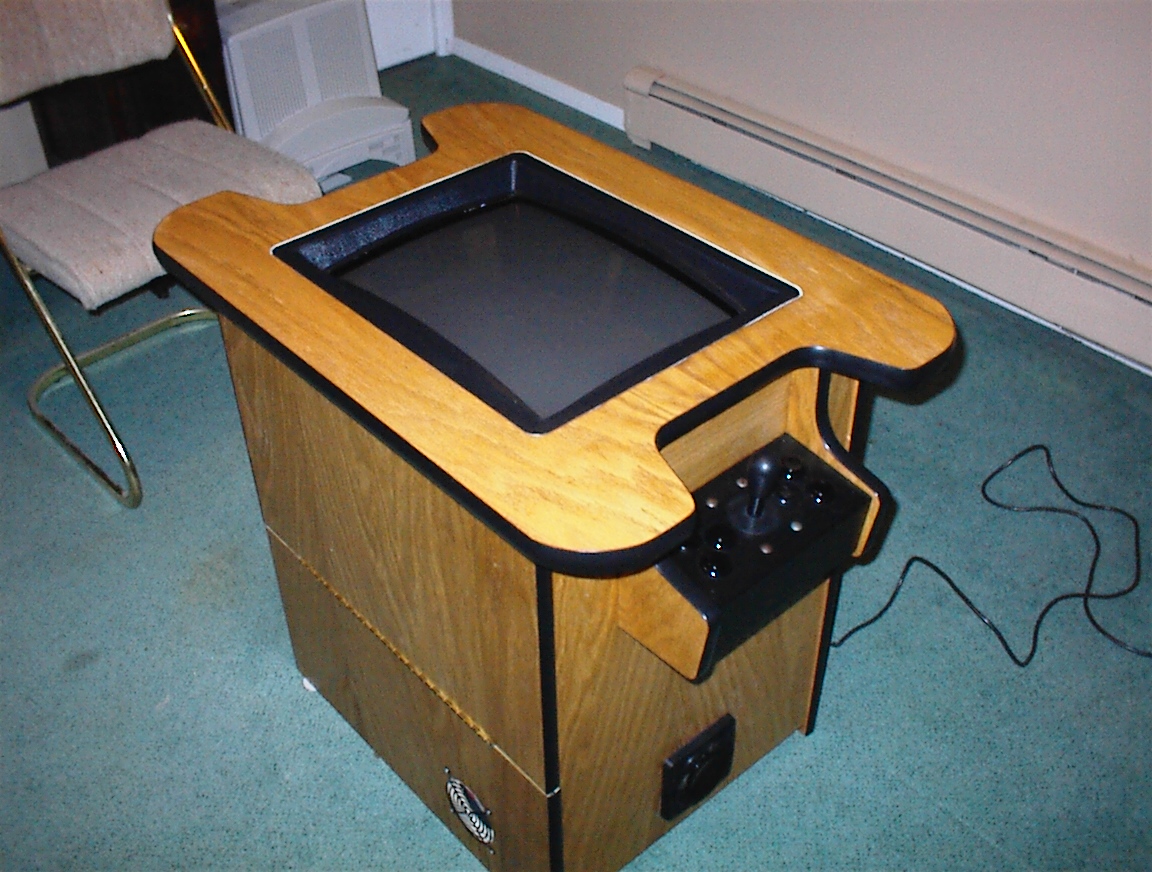
| Finally, the (almost) finished product! (Backside) |
|
|
| ...and the front (I know - no glass yet) |
Finally Completely Done:
- Got Glass for top - looks very cool :)
- Used Machine Strapping (from Home Depot) to strap monitor in better - much more comfortable now.
- Using DOS with ArcadeOS v2.35
- Replaced hard drive with: Adi's Electronics Compact Flash to IDE Adapter No noise, no magnetic field worries, no mounting issues, easy replacement. Great people to work
with.
If anyone has any questions, please feel free to contact me.
|
|
|
|